Some suggestions to consider!
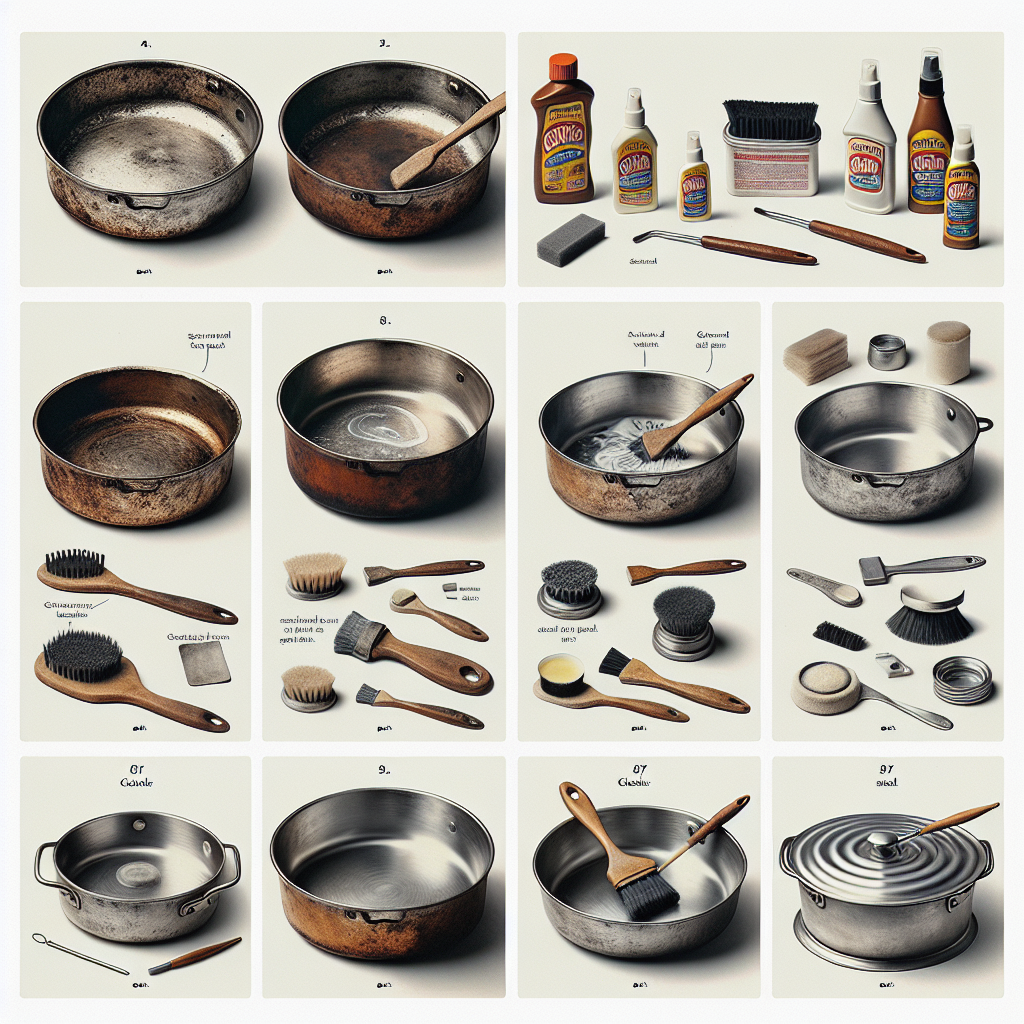
CAROTE 19pcs Pots and Pans Non Stick, Cookware Sets Detachable Handle, Induction Kitchen Pots and Pans,NonStick Cooking Set, Oven/Dishwasher/Fridge Safe, Space Saving
$59.99 (as of February 9, 2026 08:08 GMT +00:00 - More infoProduct prices and availability are accurate as of the date/time indicated and are subject to change. Any price and availability information displayed on [relevant Amazon Site(s), as applicable] at the time of purchase will apply to the purchase of this product.)SENSARTE Ceramic Cookware Sets, Pots and Pans Set Non stick, 14 Piece Induction Cookware, Non toxic Healthy Non Stick Kitchen Cooking Set, with Frying Pans Set, PFAS PTFE PFOA PFOS Free
$79.99 (as of February 9, 2026 08:08 GMT +00:00 - More infoProduct prices and availability are accurate as of the date/time indicated and are subject to change. Any price and availability information displayed on [relevant Amazon Site(s), as applicable] at the time of purchase will apply to the purchase of this product.)CAROTE Pots and Pans Set Non Stick, Cookware Sets, 19pcs Kitchen Set, Oven/Fridge Safe, Space Saving Pots Set, Nonstick Set with Versatile Removable/Detachable Handle, Induction RV Set, Purple
$99.99 (as of February 9, 2026 08:08 GMT +00:00 - More infoProduct prices and availability are accurate as of the date/time indicated and are subject to change. Any price and availability information displayed on [relevant Amazon Site(s), as applicable] at the time of purchase will apply to the purchase of this product.)
Assess the Condition of Your Cookware
Look for Rust and Stains
Before diving into restoration, I always start by examining the cookware closely. You want to look for rust spots, deep stains, and any signs of wear and tear. If it’s cast iron, a little rust might not be a dealbreaker since it could be easily tackled.
Sometimes, it’s just a matter of a good soak to reveal hidden beauty. So make sure to run your fingers over the surface. Feel for any rough patches, as this can indicate uneven wear, which is more common in older pieces.
Cleanliness is key! I typically give them a quick scrub with soap and warm water to see what I’m working with. This helps me assess how deep those stains are and how much effort I’ll need to put into restoring them.
Check for Warping or Damage
Next, I check for warping, which can happen if the pan has been overheated. A warped pan will not sit flat on a burner and can cause uneven cooking, which is a total bummer. To check this, I usually put the cookware on a flat surface.
If it wobbles or there’s a gap when you press down, it’s time to think creatively about its future. Warped pans can sometimes be used for specific tasks but may not be ideal for frying or sautéing.
Also, look for cracks or deep scratches. These could affect the cookware’s integrity and might lead to a costly disaster in the kitchen. The last thing I want is for a piece to chip while I’m whipping up a lovely stew!
Identify the Material
Knowing the material is crucial for determining the right cleaning method. Is it cast iron, stainless steel, or maybe non-stick? I’ve had my fair share of mishaps simply because I didn’t categorize the material properly. Cast iron requires special care, while stainless can handle more abrasive tactics.
Non-stick surfaces might look tempting for a deep scrub, but that’s a big no-no. You’ll end up scratching the surface and ruining the non-stick properties. I always take a moment to identify before I start any work on restoring the piece.
Take a look at the handles too! Sometimes, they can be made of different materials, which means they could need different care. It’s annoying, but worth noting for the overall restoration process.
Choose the Right Cleaning Method
Soaking Techniques
If you’re dealing with stubborn stains or built-up grease, soaking can work wonders. I usually fill a basin with hot water and add a gentle detergent. You’d be surprised at how much gunk comes off after soaking for a few hours.
If you’ve got a cast iron skillet, you might want to go easy on soap to avoid stripping away the seasoning. I’d recommend warm water only, followed by a good scrub using a stiff brush.
For rust spots, I’ve had luck using a mixture of vinegar and baking soda in my soaking water. Just let it sit for a bit, and then scrub gently after soaking. It’s like magic watching those rust spots fade!
Scouring and Scrubbing
Once soaking is complete, it’s time to scrub! With cast iron pans, I’ll reach for a chainmail scrubber or a heavy-duty sponge. It’s all about getting into the nooks and crannies without damaging the surface.
On stainless steel, a bit of baking soda can create a paste that I rub on the stains. It takes some elbow grease, but it’s very satisfying to see those stains lift away!
Be sure to rinse everything thoroughly. Leftover soap can mess with your food later, and I prefer my meals to taste amazing, not like dish soap!
Seasoning for Cast Iron
If you’re restoring cast iron, seasoning is essential. After cleaning and drying, I apply a thin layer of vegetable oil both inside and out. Then, I bake it upside down in the oven at a high temperature for about an hour. It creates a protective layer I trust.
Always let it cool in the oven too; this avoids any sudden temperature changes that can make it crack. I generally repeat this process a few times to build a robust seasoning that’ll last me ages!
Once seasoned, it’s all about upkeep. After cooking, I simply wipe down with a paper towel and avoid soap as best as I can. Old habits die hard, but trust me, this makes the surface better over time!
Repairing Damaged Cookware
Fixing Scratches and Chips
For scratches or chips in non-stick cookware, it can be tricky. I often find that if the damage is minor, you might just need to replace it. But no worries; some folks have had success using specific non-stick repair products available online.
For stainless steel, I’ll use a stainless steel cleaner to buff out small scratches. It’s not a complete miracle fix, but it can help make the cookware look a little more polished and shiny!
As for cast iron, I’ve found that a small chip here and there isn’t the end of the world. It often just adds character to the piece, but if concerns grow, some people successfully fill these with food-safe epoxy.
Handling Warping
If you discover warping, it’s a bit of a game-changer. I’ve heard of folks using a metalworking hammer to carefully shape their cookware back into form, but I usually leave those tricks to the pros.
If it’s beyond repair, I’d get creative. For example, a warped pot can become a planter – hey, sustainability is all the rage, right?
Always remember that sometimes it’s easier to retire a warped piece than to put yourself through the hassle of trying to fix it. There are plenty of new pieces waiting for a home!
Restoring the Handles
Oftentimes, handles are the unsung heroes of cookware restoration. If they’ve come loose, I typically tighten bolts or screws if applicable. Some handles might need new screws if they’re too stripped.
If the handle material is chipped or rusted, consider painting it with high-temperature paint – I’ve done that on a few older pieces, and it worked out just fine!
For wooden handles, a good scrub with mineral oil every once in a while helps keep them looking sleek. Just like skin, they need some love too to prevent drying out and splintering.
Maintaining Your Restored Cookware
Proper Cleaning Techniques
After all that hard work, I can’t stress enough how important it is to keep up good cleaning practices. For my beloved cast iron, I make sure to clean it gently after every use, avoiding soap and using hot water instead. Sometimes, just a good rinse does the trick!
With stainless steel, using a paste of baking soda helps to ward off stains. A little scrubbing, and it shines beautifully! I’ve also learned to always be careful with the temperature—never throw a hot pan in cold water!
Always keep those pieces dry to prevent rust, particularly in cast iron. It’s simple, but I feel like weary hands like mine can forget sometimes!
Storing Your Cookware
I’m a big fan of storing cookware properly to avoid any future issues. I stack lightweight pans with paper towels in between to prevent scratching. It’s a small but useful trick I picked up along the way.
If you’re dealing with cast iron, I usually keep it in a dry place with the lid off if it has one. This way, moisture can escape, and it can breathe easily!
And if you have space, displaying your restored cookware on hanging racks can show off your hard work while keeping it within reach. Win-win!
Avoiding Mistakes in Future Use
I always remind myself to avoid metal utensils on non-stick surfaces; it’s a death wish! Plastic or wooden utensils are far better. They may seem less fancy, but your cookware will thank you for it!
Also, be careful about the heat settings. I tend to stay on medium heat, as high can warp pans. It’s pretty insane how easily things can go wrong in the kitchen.
And lastly, always check the manufacturer’s recommendations, particularly for more unique pieces. It saves headaches and ensures a very happy cooking experience.
FAQ
1. Can I restore non-stick cookware?
Yes, but it’s more complicated! Minor scratches can be treated with special products, but if a pan is too damaged, it might be better to replace it.
2. How do I know if my cast iron is seasoned properly?
If it has a natural, semi-gloss finish and food easily releases from the surface, it’s likely seasoned well. A little test fry can help too!
3. What can I do about warped cookware?
Sometimes, it’s best to retire it unless you’re comfortable trying to reshape it gently. Get creative and think about new uses for it!
4. Is it safe to use cookware with some rust?
A bit of rust can usually be scrubbed off and is still safe to cook with, but always inspect it thoroughly to ensure it’s not affecting the structure.
5. What should I do if my restored cookware still looks dull?
A good polish with an appropriate cleaner can help, especially for stainless steel. Sometimes, it’s all about ongoing maintenance to keep it looking fresh.


